Choose the final sanding grit after choosing the finish. Start with the instructions for the exact product, the wood you are finishing and the stage you have reached. A number copied from another project leaves those decisions unresolved.
This guide uses manufacturer information checked November 4, 2026. It is a preparation-planning method, not a hands-on abrasive comparison or a universal sanding sequence.
Separate the three decisions
Write down what the next coating will touch: bare wood, a primer, or an existing coat. Then find the instructions for that particular stage.
| Your next step | Instructions to locate | Decision to resolve |
|---|---|---|
| Apply stain to bare wood | That stain's bare-wood preparation section | Does it specify a final grit for your species? |
| Apply a product over primer | Its primed-surface preparation section | Does the bare-wood instruction apply here at all? |
| Recoat an existing finish | That finish's recoating and between-coat instructions | Is sanding required, when, and with what abrasive? |
This is a reading checklist. It does not prescribe a grit for any of the three stages. Keeping the stages separate prevents a familiar bare-wood number from becoming an unsupported between-coat instruction.
For a Canadian project, start with the Canadian product page and the label on your container. Record the product code as well as the brand; another product from the same brand is a separate decision.
A Canadian stain example with a defined scope
The Canadian SamaN Waterbased Wood Stain page, WWS-0 specifies 120-grit for bare oak and maple, and 150-grit for bare pine and fir among its listed examples. The page also says that finer sandpaper produces a paler shade with this stain.
Those details make “keep going finer” a colour decision worth checking, rather than an automatic finishing improvement. They do not establish the right preparation for another stain, an oil or a clear finish.
For a hypothetical bare-maple project using that named stain, the page therefore supplies a 120-grit preparation instruction. Switching the project to pine changes the cited instruction to 150-grit. Switching the finish means looking up a new instruction. These are examples of reading the manufacturer's directions, not results from our workshop.
The linked WWS technical sheet, revision V202603 calls for removing imperfections by sanding, excludes steel wool and recommends a trial before final application. It does not supply the numeric final grit. Keep the product-page instruction alongside the sheet rather than attributing the number to a document that does not contain it.
Keep the abrasive marking intact
A prefix can be part of a grit designation. Norton's explanation of P-graded abrasives, published July 23, 2025 for its US and Canada audience, identifies P-graded grain with FEPA requirements and shows the P prefix in designations and backing marks, such as P100.
The practical rule is to copy the complete marking from the abrasive package. If the finish instructions specify a grading system, retain it in your record. The SamaN page above gives plain grit numbers without identifying the standard; this guide does not silently add a P prefix or assign another system.
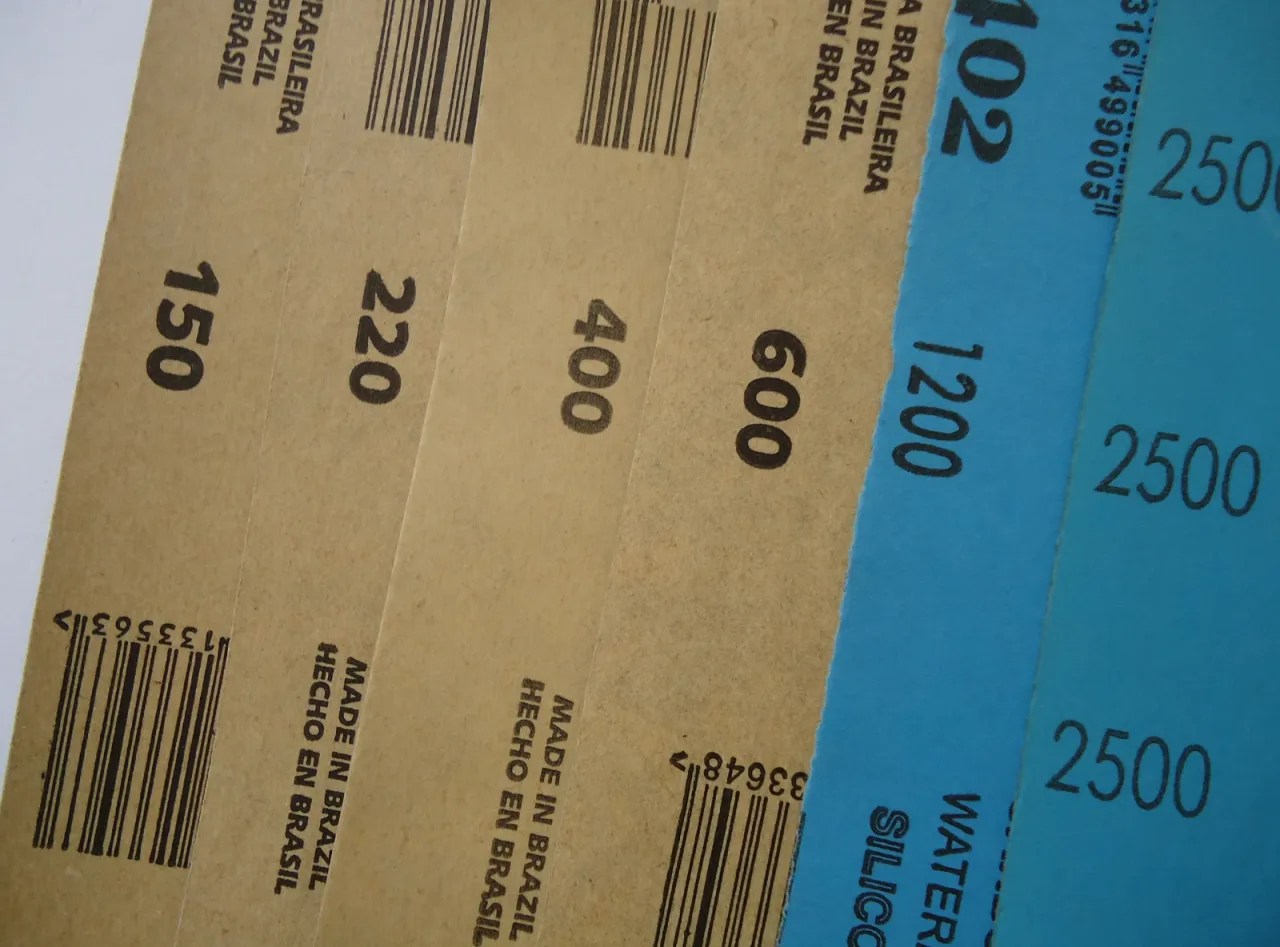
Norton's article illustrates automotive refinishing. Its photographs and performance discussion are not woodworking test evidence here. The photograph on this guide likewise shows assorted backing labels for context; it does not recommend the pictured grades as a progression.
Make a trial you can identify later
Follow the finish maker's trial instructions on representative material before committing the project. Treat an earlier sample as a useful reference only when you can identify how it was prepared and what was applied.
Keep this short record with the sample:
- Exact finish name, product code, colour and market.
- Wood species and surface stage.
- Label or instruction URL, revision if given, and date checked.
- Final grit written exactly as specified; any unstated grading system left unresolved.
- Abrasive brand, product and complete package marking actually used.
- Preparation and coating steps followed, including the intended topcoat.
- Observed result and any question that needs the manufacturer's answer.
This is a proposed record, not a claim that we performed a trial. If the label, current sheet and product page disagree, save the conflicting instructions and ask the manufacturer which applies to your container before proceeding. An unrecorded guess is difficult to repeat even when its appearance happens to suit you.
For preparation conditions beyond grit, see wood glue in a cold shop and why dry wood still moves.
HOLD YOUR GROUND.
Sources & further reading
Source information was checked for this guide’s publication date. Follow the manufacturer’s current manual for your exact tool.